
Link to all Classes Class 1 Class 2 Class 3 Class 4
Today’s Class
- Talking about inspirations
- Web Design – Photoshop Workshop (in class)
Talking about Inspiration
While you are a student you should be able to experiment as much as you can. I mean, you should claim your right to experiment in your work. Rather than always going for a conservative option.
On the other hand you never want to stop searching for inspiration in the work of others and in society, the built environment and nature in general.
As you could see with the first assessment – taking close-up photos can lead to unexpected results. Objects never look the same on screen as they do on the floor or in real life.

Some inspirations you will simply find in the artwork and design work of current practitioners and past masters. For current designers you want to look at sites and magazines such as Computer Arts and Computer Arts Projects, Mashable, Design Envy and Dzineblog are just a few inspiring resources.
This week’s Visual Design Component Class covered links and some descriptions of some styles and movements that I relate to very much:
- Swiss International Style
- Constructivism (often called Russian Constructivism)
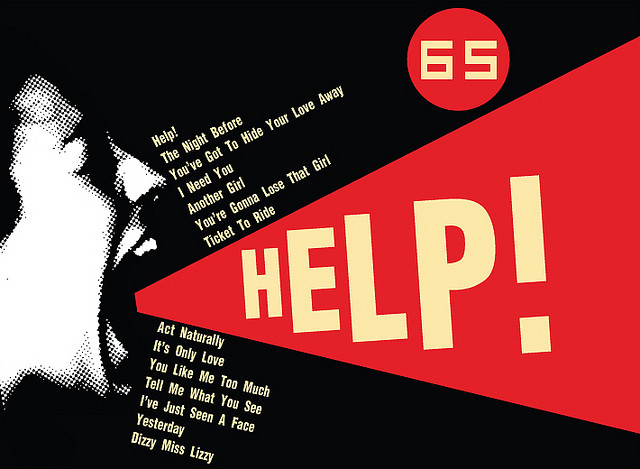
- Vietnames Propaganda Poster
- Photomontage
I highly recommend reading up on each and particularly looking at examples of the works. It is good to find out what stylistic choices each movement made and what ideas were big in their days.

It is fine to be inspired by other artist’s and designer’s work. Actually, you should look for greatness in other works and reference their works. This is done by paying a tribute to the original artist in form of a homage.

Web Design – Photoshop Workshop
In-class workshop. We will continue to apply the grid system to a website design. This time we will apply the grid to a gallery. The design will depend on your choices of layout and number of thumbnails that you want to feature.

- Access the 960 Grid System site: http://960.gs/ and download their 960 Grid System Templates by pressing the ‘Big ol’ Download Button’. This will start the download of a comprehensive folder by Nathan Smith with 960 Grid System templates and plug-ins for Photoshop, DreamWeaver and many other programs.
- In template>Photoshop open the 960_grid_12_col template
- Save the file under a new name and in your class folder.
- Make sure the guides are visible (Command+; or Ctrl+;)
- Add horizontal guides (View>New Guide) at 245px, 255px, 265px, 500px, 510px, 520px, 755px, 765px, 775px and 1010px. Lock your guides (View>Lock Guides or Alt+Ctrl+;) These guides will make it easier to arrange your content and to allow for 10px margins.
Setting the grid up. - Use the M (Rectangular Marquee) Tool to create spaces for a banner, text content, image content and a menu. Fill the spaces with colour (Shift+F5). Place each on individual layers. Name the layers (banner, text content, etc)
- Place images (File>Place). Make sure that they are located on top of the layers with the colourboxes.
- Create Clipping Masks: make sure the banner image sits on top of the banner layer (with the colour space). Have only the layer with the image selected and right click on the active layer (beside the name of the layer) and click on Create Clipping Mask. Your image should take on the dimensions of the layer below. – Alternatively you could use the short cut Ctrl+Alt+G (Cmd+Alt+G).
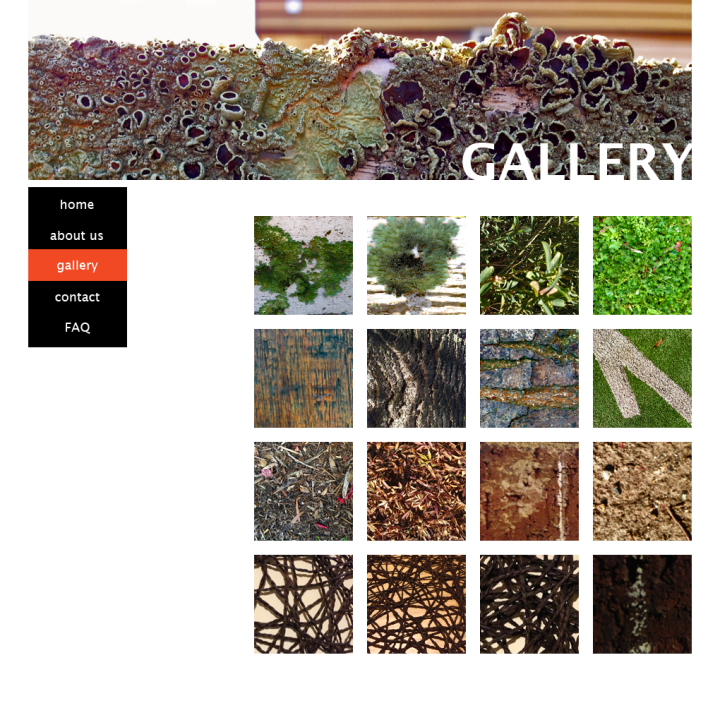
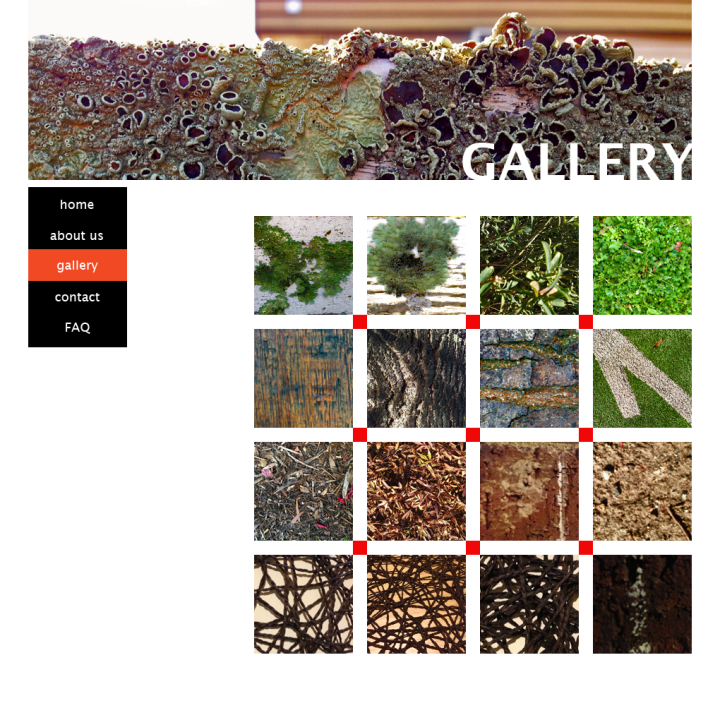
Concept for Gallery Screenshot
The 960_grid_12_col template is based on 12 columns. You can then place your text and images over 1, 2, 3 or more columns. The grid system allows you to organise your website in a visually pleasing way.


![The concept was used on the German side as well with this 'Auch du sollst beitreten zur Reichswehr' [You too should join the German Army], design by Julius Engelhard, Image: courtesy of mental_floss](https://i0.wp.com/classoffederico.com/wp-content/uploads/2014/04/world-war-propaganda_auch-du-sollst-beitreten.jpg?w=437&h=558&ssl=1 "world war propaganda_Auch du sollst beitreten")


